 |
| Not tin roofing yet but getting there |
 |
| I'm not sure but it might be easier to roof the full sized shack! |
I decided to finally put the roof on
the third of three shacks from the Bar Mills Shack Pack kit. I don’t have a
layout yet, let alone a spot for the shacks to go but when I bought the kit I figured there’s always
shacks around so I’ll find someplace for them when I finally do get around to
building the layout.
This is a great little kit with
three different kinds of shacks in it. I built two of them as moderately worn and beat up, but for additional variety I built the
final one, the one I still needed a roof for, as in a little better shape, not perfect,
but not falling down either. I also left off some of the trim on this shack for a cleaner, more modern look.
 |
| Getting rid of the shine with flat clear sealer |
The kit comes with tar-paper
roofing, which I used as is on one of the shacks. For the second I modified the
roofing to look more like shingles by hand cutting each little (Very little
since I model in N scale!) shingle by hand. It’s not going to pass the scrutiny
of a rivet-counter, but I think it gets the point across, which is – well – the
whole point, isn’t it?
 |
| And the finished collection |
For the third shack I wanted a bit
more variety so will save the kit’s left over roofing material for something
else. Instead I decided to tackle making my own corrugated tin roofing for it. After a bit
of web research and only one failed attempt, (I prefer to think of it as a practice run. . .) I was off and running.
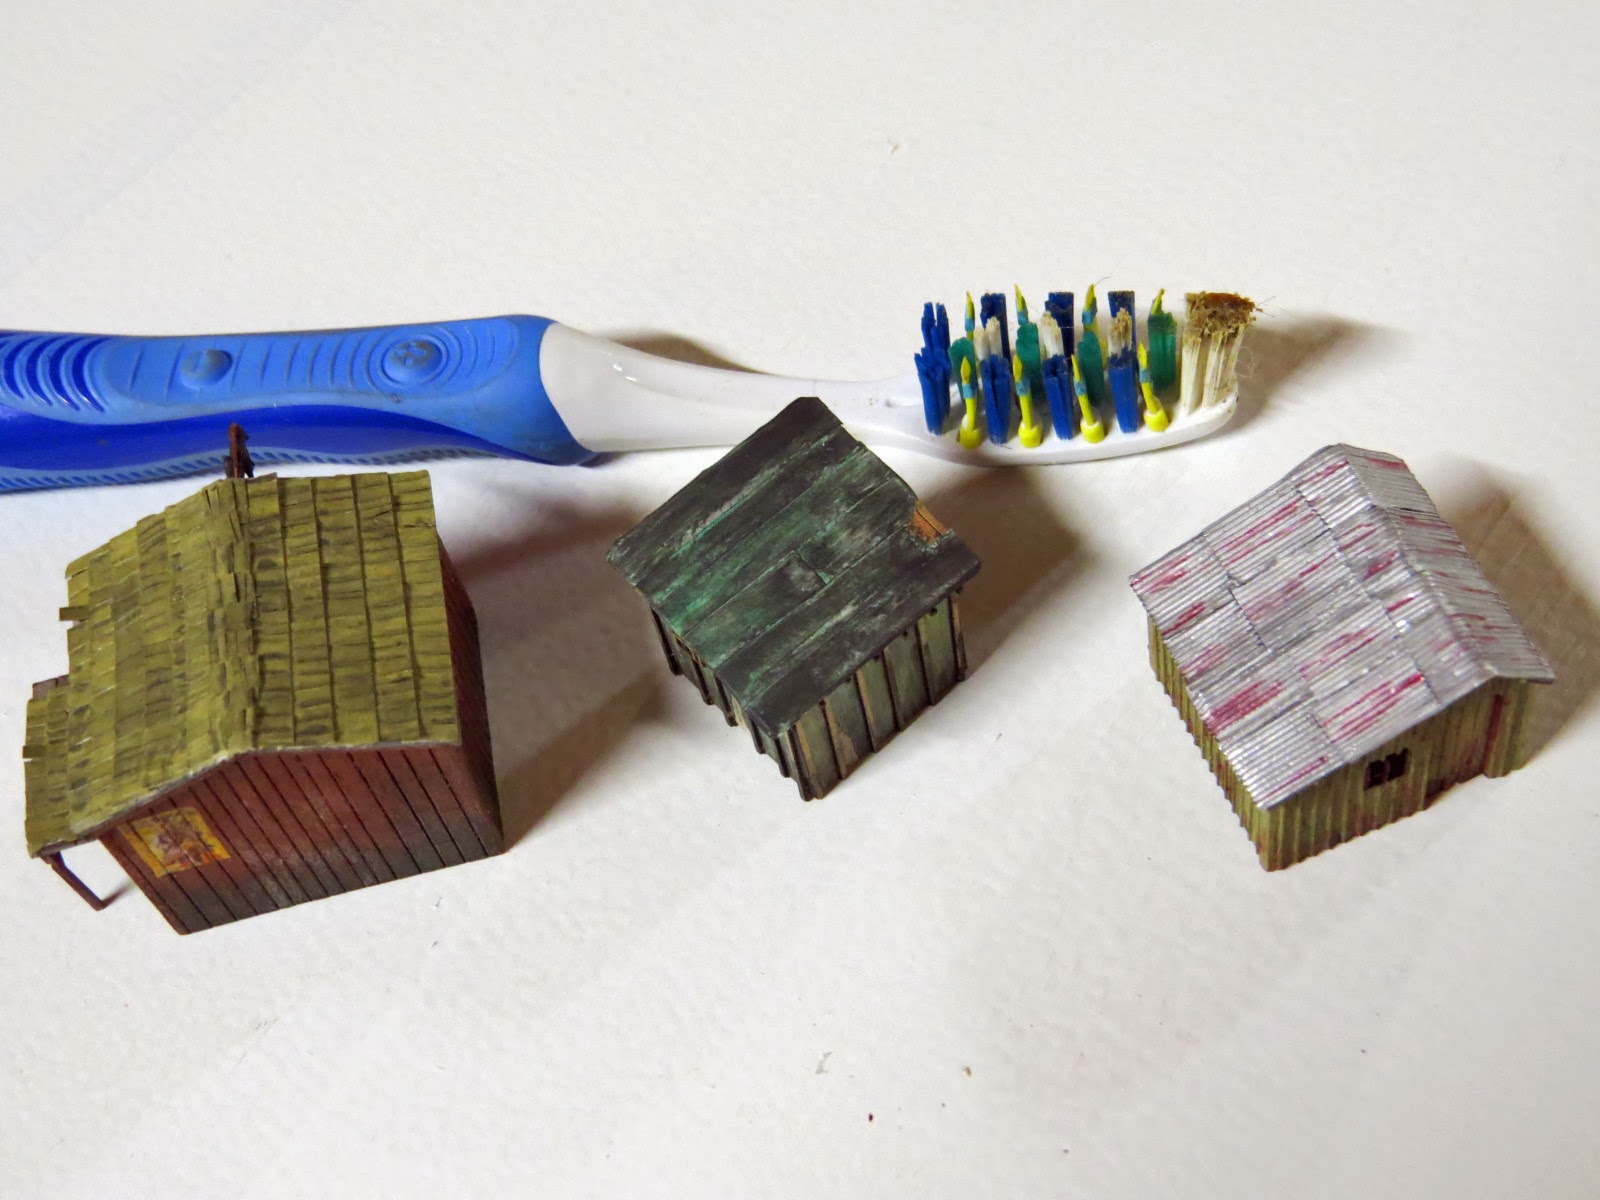 |
| With a toothbrush to give a sense of size |
Grabbing one of my bastard files, a
dental pick and a little bit of regular-weight tin foil cut into scale 8 foot wide strips, more or less, I went to work. By
laying a strip of the tin foil down on the file, at an angle so the file’s
teeth are perpendicular to the edge of the foil strip, then using the rounded
part of the dental pick just behind the point to crease the foil down between each tooth of the file
I came up with something that looks like tin roofing. OK, maybe you have to use
your imagination at this point but I wasn’t done yet.
After ‘creating’ the
roofing strips I cut them to width and glued them in place with Elmer’s
ProBond since it’s claim to fame is bonding all sorts of different materials
together. A bit of ‘weathering’ with a brownish-red fine point marker (It would have been better to use a colored pencil instead but I can’t remember
right now where they are and the bag full of markers was right there. . .) and a
thin wash of grey paint and Wallah! a roof.
Again, not going to pass muster with
rivet-counters, but I think it does a reasonable job of mimicking a tin roof.
Out to the shop for a quick spray of flat clear sealer (That has been warming up in a pail of hot water so it will spray properly.)
to take the non-prototypical sheen off everything and the shacks are now tucked
away just waiting for someplace to go. (I have got to get started on the layout! – one of these days – maybe.)
No comments:
Post a Comment